
Clean a plastic litter box by emptying it, washing it with unscented dish soap and warm water, rinsing it well, and letting it dry fully before adding fresh litter. For extra germ control, use a cat-safe disinfectant according to its U.S. label directions, then rinse and dry the box before your cat uses it.
Regular cleaning removes urine film, stuck litter, feces, bacteria, and odor. It also protects your cat from a dirty bathroom and helps prevent litter-box avoidance.

How Often Should You Clean a Plastic Litter Box?
Scoop solid waste and urine clumps at least once a day. Wash the entire plastic litter box about once a week, or more often if it smells, looks dirty, or houses more than one cat.
A daily scoop keeps waste from building up. A full wash removes the thin urine layer that a scoop cannot reach.
Clean the box sooner when:
- Urine has dried on the bottom or sides.
- Litter sticks to the plastic.
- The box smells after scooping.
- Your cat has diarrhea or another illness.
- The box is shared by several cats.
- A new cat will use the box.
- The box has deep scratches that hold waste.
Pregnant people should ask another person to clean the litter box when possible. The Centers for Disease Control and Prevention advises pregnant people to avoid cat feces because of the risk of Toxoplasma gondii. If no one else can do the task, wear disposable gloves and wash your hands well afterward. Daily cleaning also helps because the parasite usually needs time in the feces before it becomes infectious.

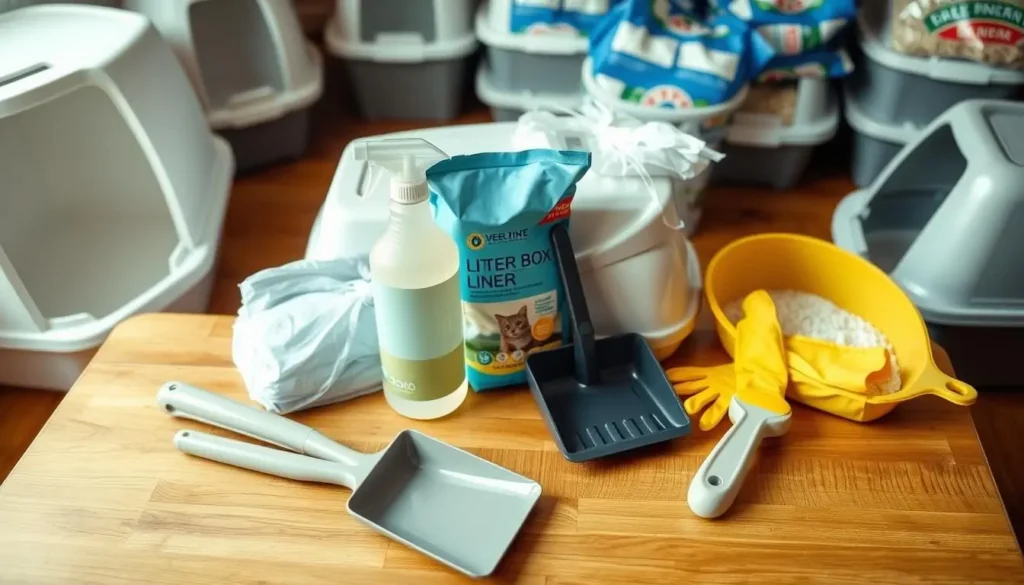
What You Need to Clean a Plastic Litter Box
Gather the supplies before you start:
- Disposable gloves
- A trash bag
- Unscented dish soap
- Warm water
- A soft sponge or nylon brush
- Paper towels or a clean towel
- A hose, utility sink, or bathtub
- A pet-safe disinfectant, if needed
- A separate scoop or scraper for stuck litter
Use old cleaning tools for the litter box. Do not use the same sponge on dishes, counters, or food bowls.
Choose unscented products. Strong scents can bother cats, and some cats may avoid a box that smells like perfume or chemicals. Avoid products that contain essential oils, phenols, or harsh fragrances. Cats can be sensitive to these substances.
Never mix bleach with ammonia, vinegar, toilet cleaner, or any other cleaner. Urine can release ammonia-like fumes, so rinse away urine residue before using a bleach-based product.
How to Clean a Plastic Litter Box Step by Step
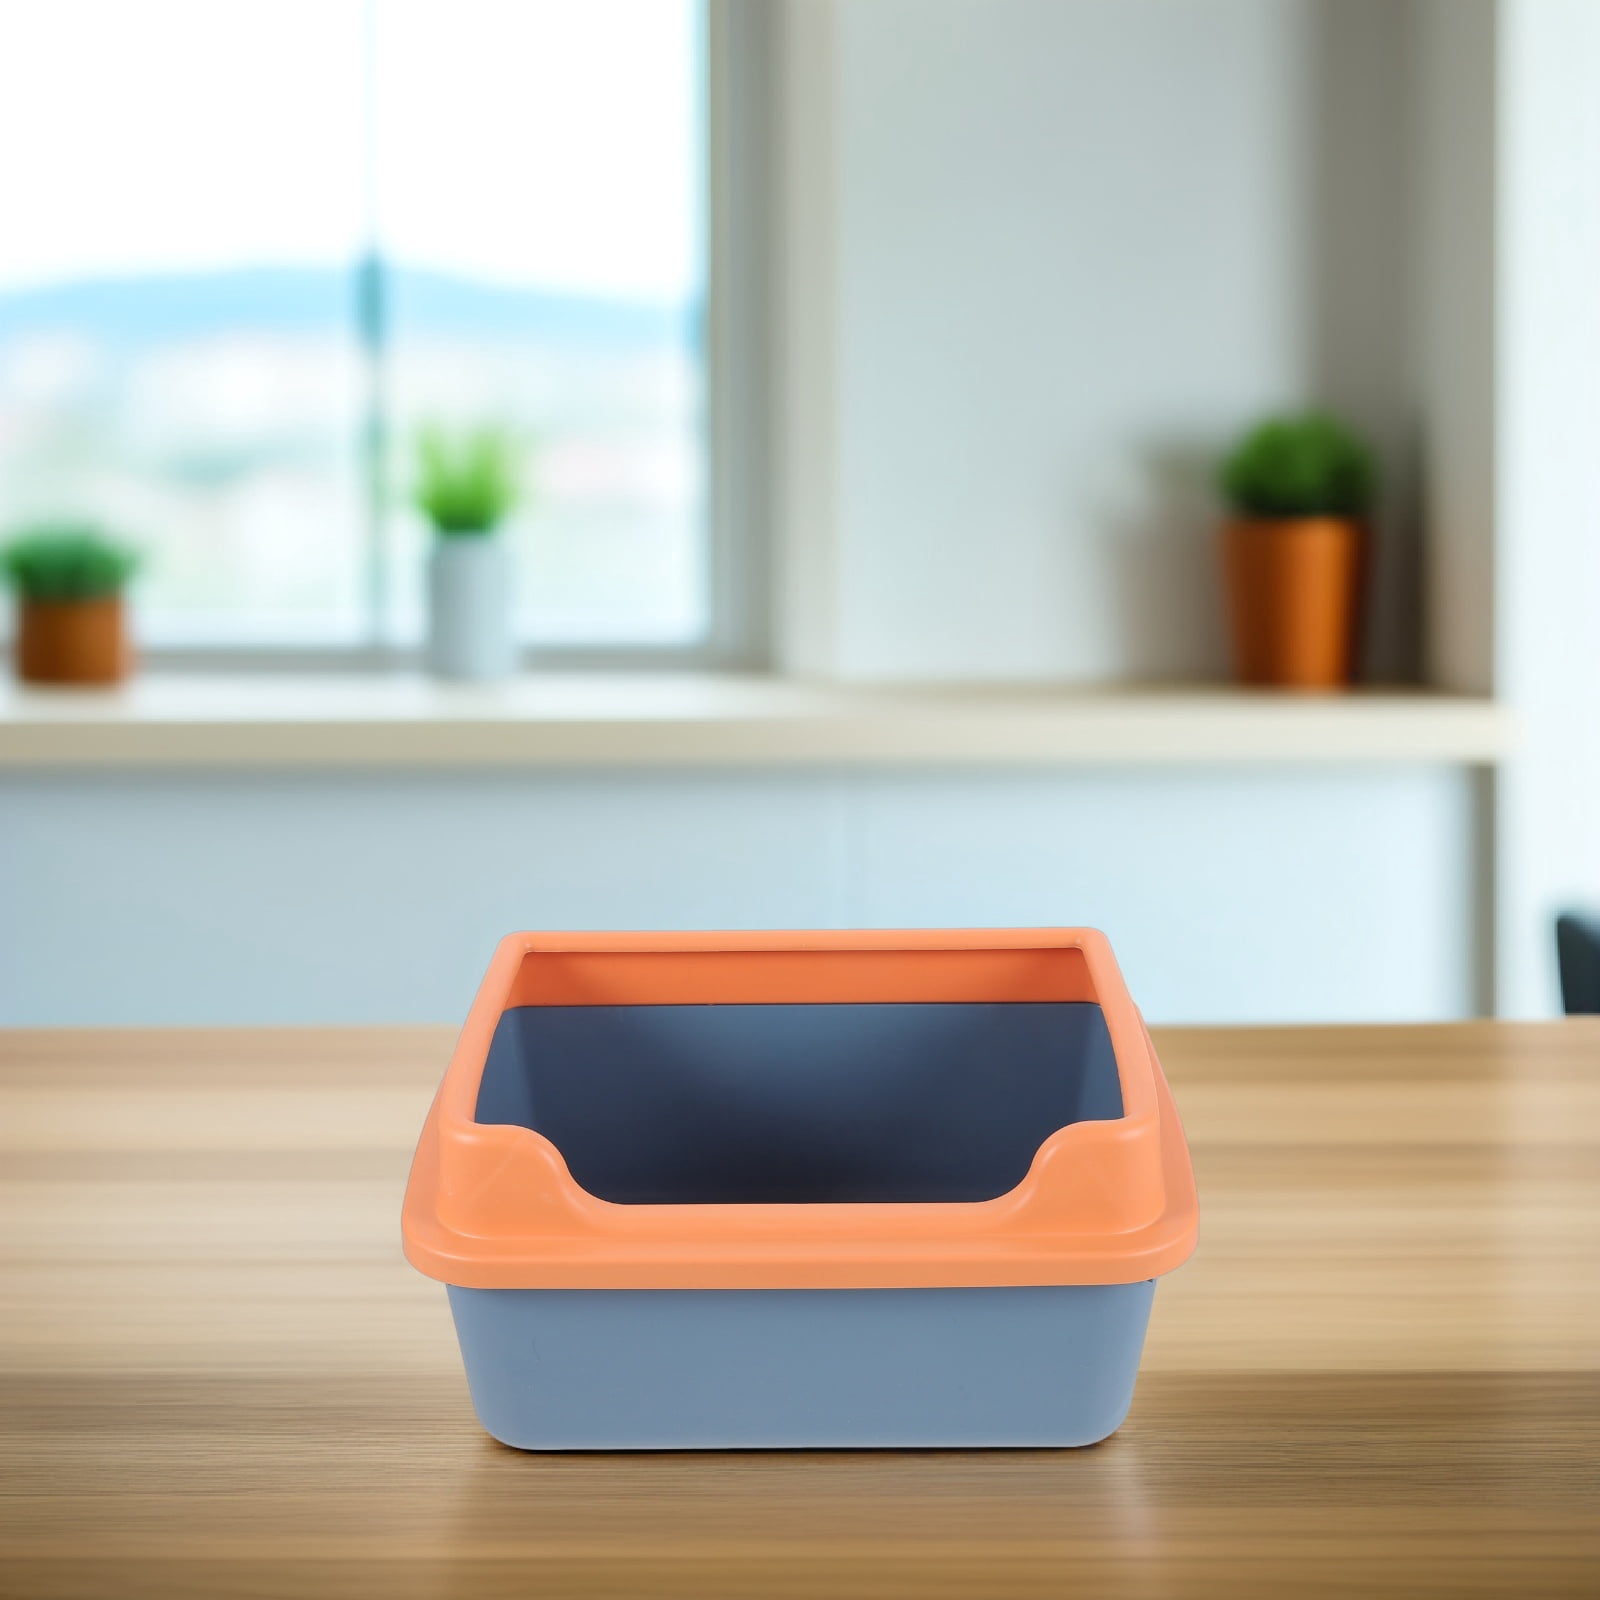
Follow this order for a normal weekly cleaning. The method works for most open plastic litter pans and many covered boxes.
1. Put on gloves and choose a ventilated area
Wear disposable gloves before touching used litter or waste. Open a window or clean the box outdoors if practical.
Keep your cat away from the area while you clean. Do not let a cat walk through wet cleaner or lick the box before it is rinsed and dry.
2. Empty all litter into a trash bag
Pour the old litter into a sturdy trash bag. Use a scoop or soft scraper to remove clumps stuck to the bottom.
Do not flush clumping litter, clay litter, silica litter, or large amounts of waste down a toilet. These materials can clog plumbing, and local wastewater rules may not allow pet waste. Follow your local disposal rules.
Tie the bag closed and place it in an outdoor trash bin if possible. Wash your hands after removing the gloves.
3. Rinse the box with warm water
Rinse the empty box with warm water. This loosens urine film and softens litter stuck to the plastic.
If you use a bathtub or sink, clean and disinfect that area after the litter box is finished. A hose can make outdoor rinsing easier, but avoid sending dirty water toward storm drains, gardens, or play areas.
4. Wash with unscented dish soap
Add a small amount of unscented dish soap to warm water. Scrub the inside, outside, rim, corners, handle, lid, and entry flap.
Use a soft sponge or nylon brush. Avoid steel wool, rough scouring pads, and sharp tools. They can create scratches where bacteria, urine, and odor can collect.
For stuck litter, soak the area for 10 to 15 minutes. Then scrub it gently. A plastic scraper can help with thick buildup, but do not gouge the surface.
5. Rinse until no soap remains
Rinse the box several times with clean water. Soap residue can irritate your cat’s paws or skin.
Run your fingers over the surface while wearing gloves. If the box feels slippery or has a soapy smell, keep rinsing.
6. Disinfect only when it is useful
Routine washing with soap and water is often enough for normal maintenance. Disinfection may help after illness, diarrhea, heavy contamination, or when a new cat will use the box.
Use a disinfectant that is labeled for the surface and follow the product’s U.S. label directions. The U.S. Environmental Protection Agency explains that registered disinfectants must be used according to their label, including the required contact time.
A common option is a properly diluted bleach solution, but bleach is not automatically safer than soap. If you use bleach:
- Remove all urine and feces first.
- Dilute the bleach exactly as the label directs.
- Keep the area well ventilated.
- Never mix bleach with another cleaner.
- Leave the solution on the surface for the stated contact time.
- Rinse the box very well.
- Let it dry fully before adding litter.
The box should have no bleach smell when your cat returns. If the smell remains, rinse it again and allow more drying time.
7. Dry the box completely
Dry the box with a clean towel, then let it air-dry. Sunlight can help dry the surface, but do not rely on sunlight as a measured disinfecting method.
Moisture under a litter liner or in a corner can trap odor. Check the rim, seams, lid, and bottom before refilling.
8. Add fresh litter and return the box
Add the same litter type your cat already accepts. A sudden change in litter can cause avoidance.
Place the clean box in its usual spot. If you move it during cleaning, return it to a quiet, easy-to-reach area. Cats usually prefer a box away from food, loud appliances, and heavy foot traffic.
The cleaning worked when the box is visibly clean, fully dry, free of cleaner residue, and accepted by your cat.

How to Remove Strong Urine Smell From a Plastic Litter Box
Remove odor by cleaning the urine film first. Air freshener alone will cover the smell for a short time but will not remove the residue.
Try this sequence:
- Empty the box.
- Rinse it with warm water.
- Wash it with unscented dish soap.
- Soak stubborn areas with warm, soapy water.
- Scrub the corners and underside of the rim.
- Rinse well.
- Use a pet-safe odor remover if the label allows it.
- Rinse again if the product requires rinsing.
- Dry the box fully.
Avoid mixing vinegar with bleach. You may use diluted white vinegar as a separate cleaning step for mineral buildup, but rinse the box completely before using any other product. Vinegar is not a dependable disinfectant for every germ.
If the box still smells after several cleanings, inspect it for scratches, cracks, and worn plastic. Urine can enter damaged plastic and continue to release odor. At that point, replacing the box is often more effective than using stronger chemicals.

How to Clean a Plastic Litter Box With Stuck Litter
Soak stuck litter instead of scraping hard. Hard scraping can damage the plastic and create more places for waste to collect.
Fill the box with enough warm water to cover the stuck area. Add a small amount of unscented dish soap and let it sit for 10 to 15 minutes. Use a nylon brush or plastic scraper to lift the softened material.
For a covered litter box, clean the lid and filter area separately. Remove any carbon filter before washing if the manufacturer says it is replaceable or not washable. Do not soak electrical parts, automatic litter-box components, sensors, or power cords.
Do not use boiling water. Very hot water can warp thin plastic and may make a poor-fitting lid or liner.

Should You Use Bleach to Clean a Cat Litter Box?
You can use a properly diluted bleach product for some disinfection tasks, but bleach is not needed for every routine wash. Soap, water, scrubbing, rinsing, and drying remove most everyday dirt and waste.
Bleach becomes risky when it is:
- Mixed with ammonia or another cleaner
- Used at an unknown concentration
- Left where a cat can lick it
- Not rinsed from the surface
- Used in a poorly ventilated room
- Applied to a damaged or incompatible material
Use the product label as the main guide. A bleach product’s strength can vary, so do not guess a dilution from a recipe meant for another product.
Never use phenol-based cleaners around cats. Avoid products with pine oil, strong essential oils, or heavy fragrance unless the product is specifically labeled for safe use around cats and you follow its directions.

When Should You Replace a Plastic Litter Box?
Replace a plastic litter box when cleaning no longer removes the odor or when the box has deep scratches, cracks, warped edges, or a damaged surface.
Replacement is also sensible when:
- Urine leaks through a crack.
- The bottom is permanently stained and smells.
- The rim has sharp or broken sections.
- The box is too small for the cat.
- A covered box traps odor and your cat avoids it.
- The box cannot be cleaned without harsh chemicals.
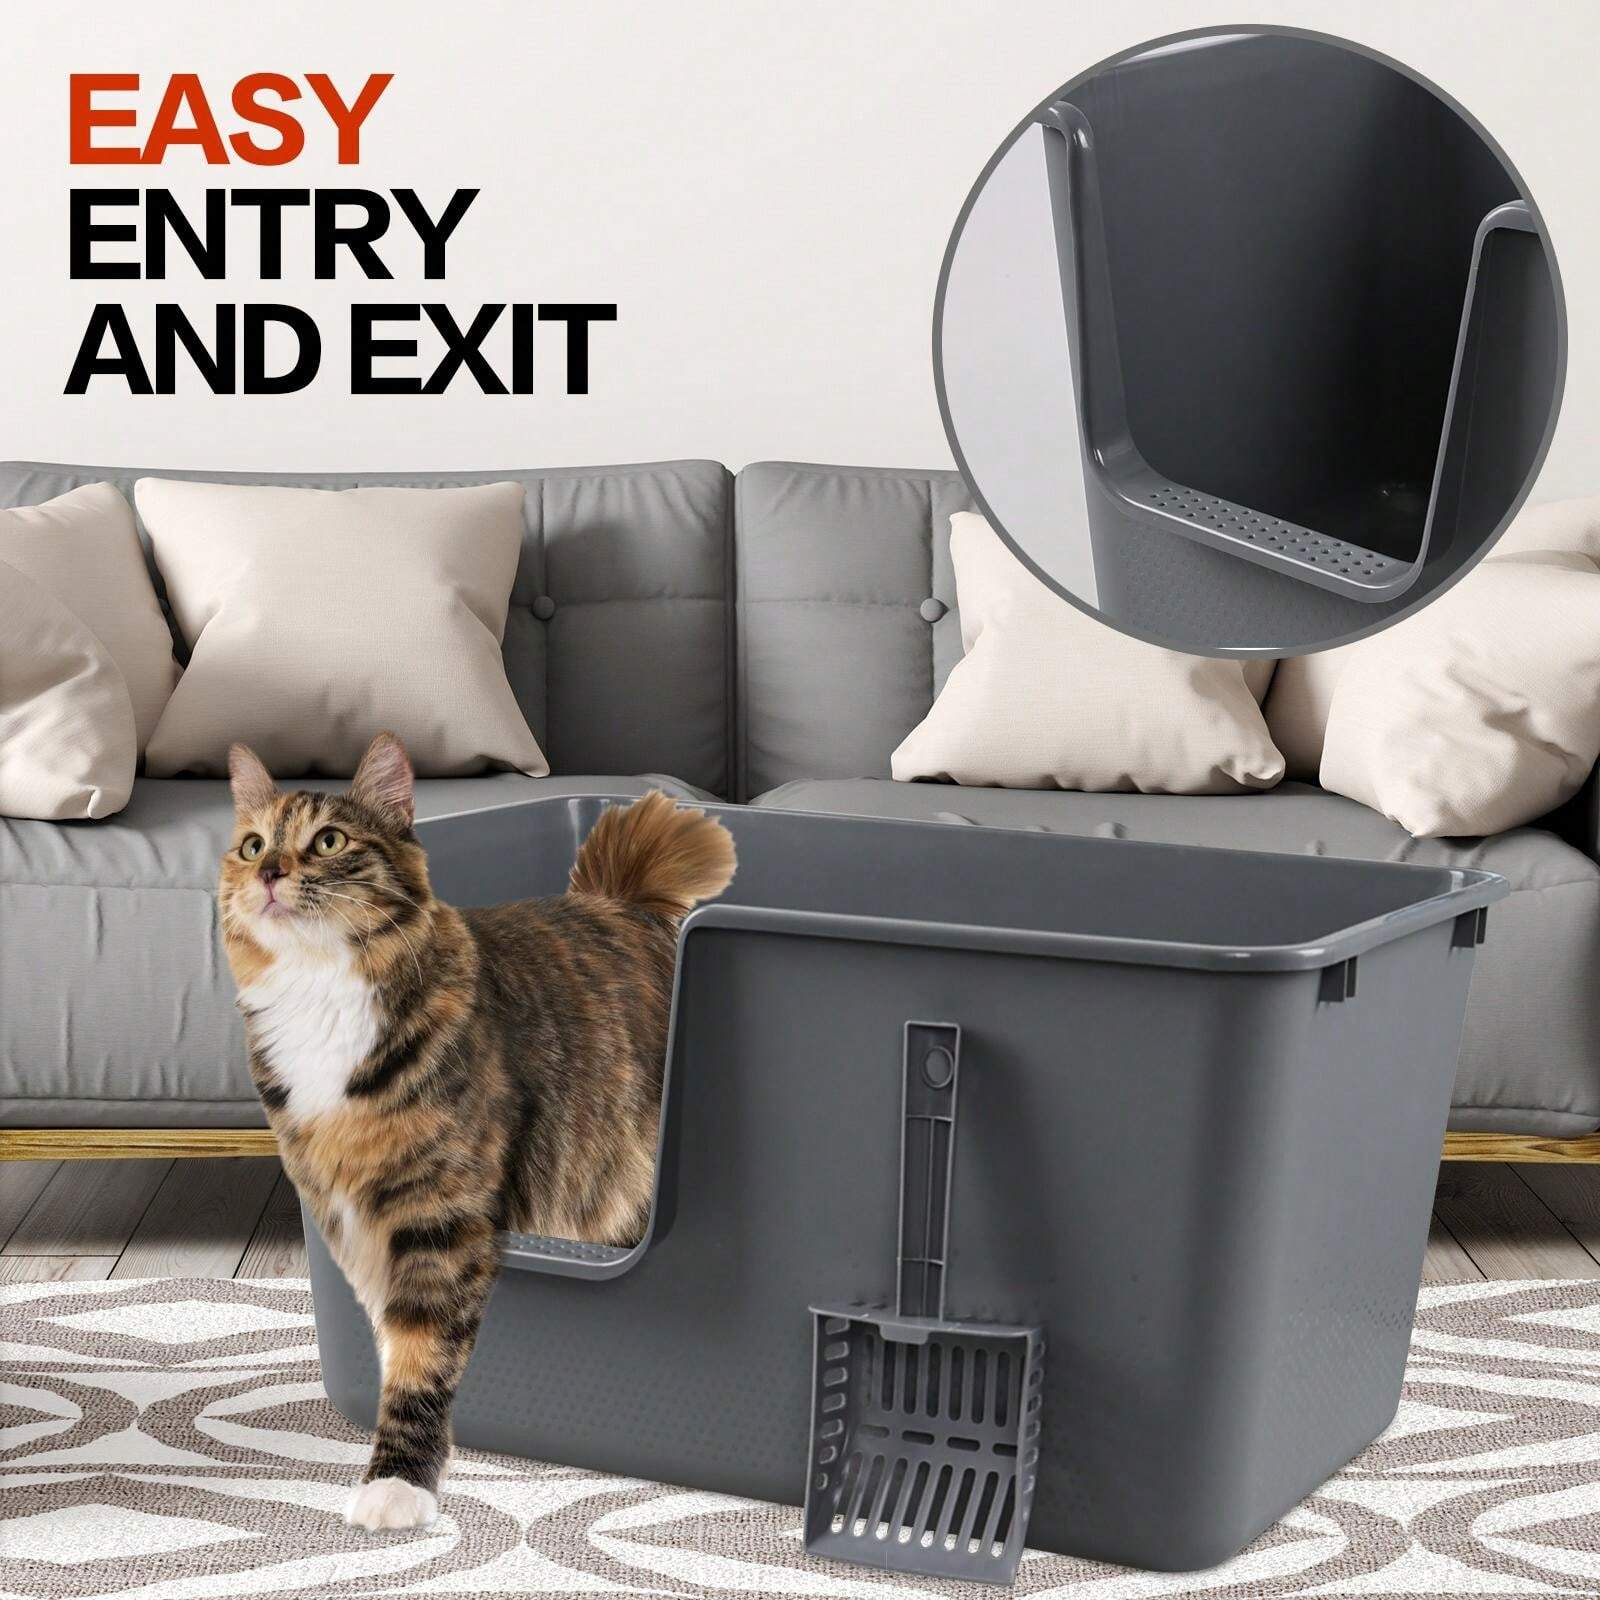
A smooth, undamaged plastic box is easier to wash. A large box also gives cats room to turn, dig, and cover waste. Many cats prefer an uncovered box, but the best design depends on the individual cat and the location.
If you replace the box, keep the old one nearby for a short transition when possible. Put some clean used litter from the old box into the new box so it smells familiar.
Common Plastic Litter Box Cleaning Mistakes
Using scented cleaners
A strong scent may smell clean to a person but unpleasant to a cat. Use unscented soap and rinse well.
Scrubbing with abrasive tools
Steel wool and rough pads scratch plastic. Use a soft sponge, nylon brush, or plastic scraper.
Pouring bleach onto urine
Bleach can react with ammonia-like compounds in urine and release irritating fumes. Wash and rinse the box before any disinfection step.
Refilling a damp box
Damp plastic makes litter stick to the bottom. It can also leave cleaner residue. Dry the box fully.
Cleaning only the bottom
Waste can collect under the rim, around the entrance, on the lid, and in corners. Wash every surface that your cat touches.
Changing litter and box location at the same time
A new smell, new texture, and new location can make the box less familiar. Change one factor at a time when possible.
Ignoring sudden litter-box avoidance
A dirty box can cause avoidance, but medical problems can also be responsible. Urinary pain, constipation, diarrhea, arthritis, and stress may change a cat’s toilet habits.
Contact a veterinarian if your cat strains to urinate, produces little or no urine, cries in the box, has blood in the urine, vomits, seems weak, or suddenly stops using the box. A male cat that cannot urinate needs urgent veterinary care.
How to Keep a Plastic Litter Box Cleaner Longer
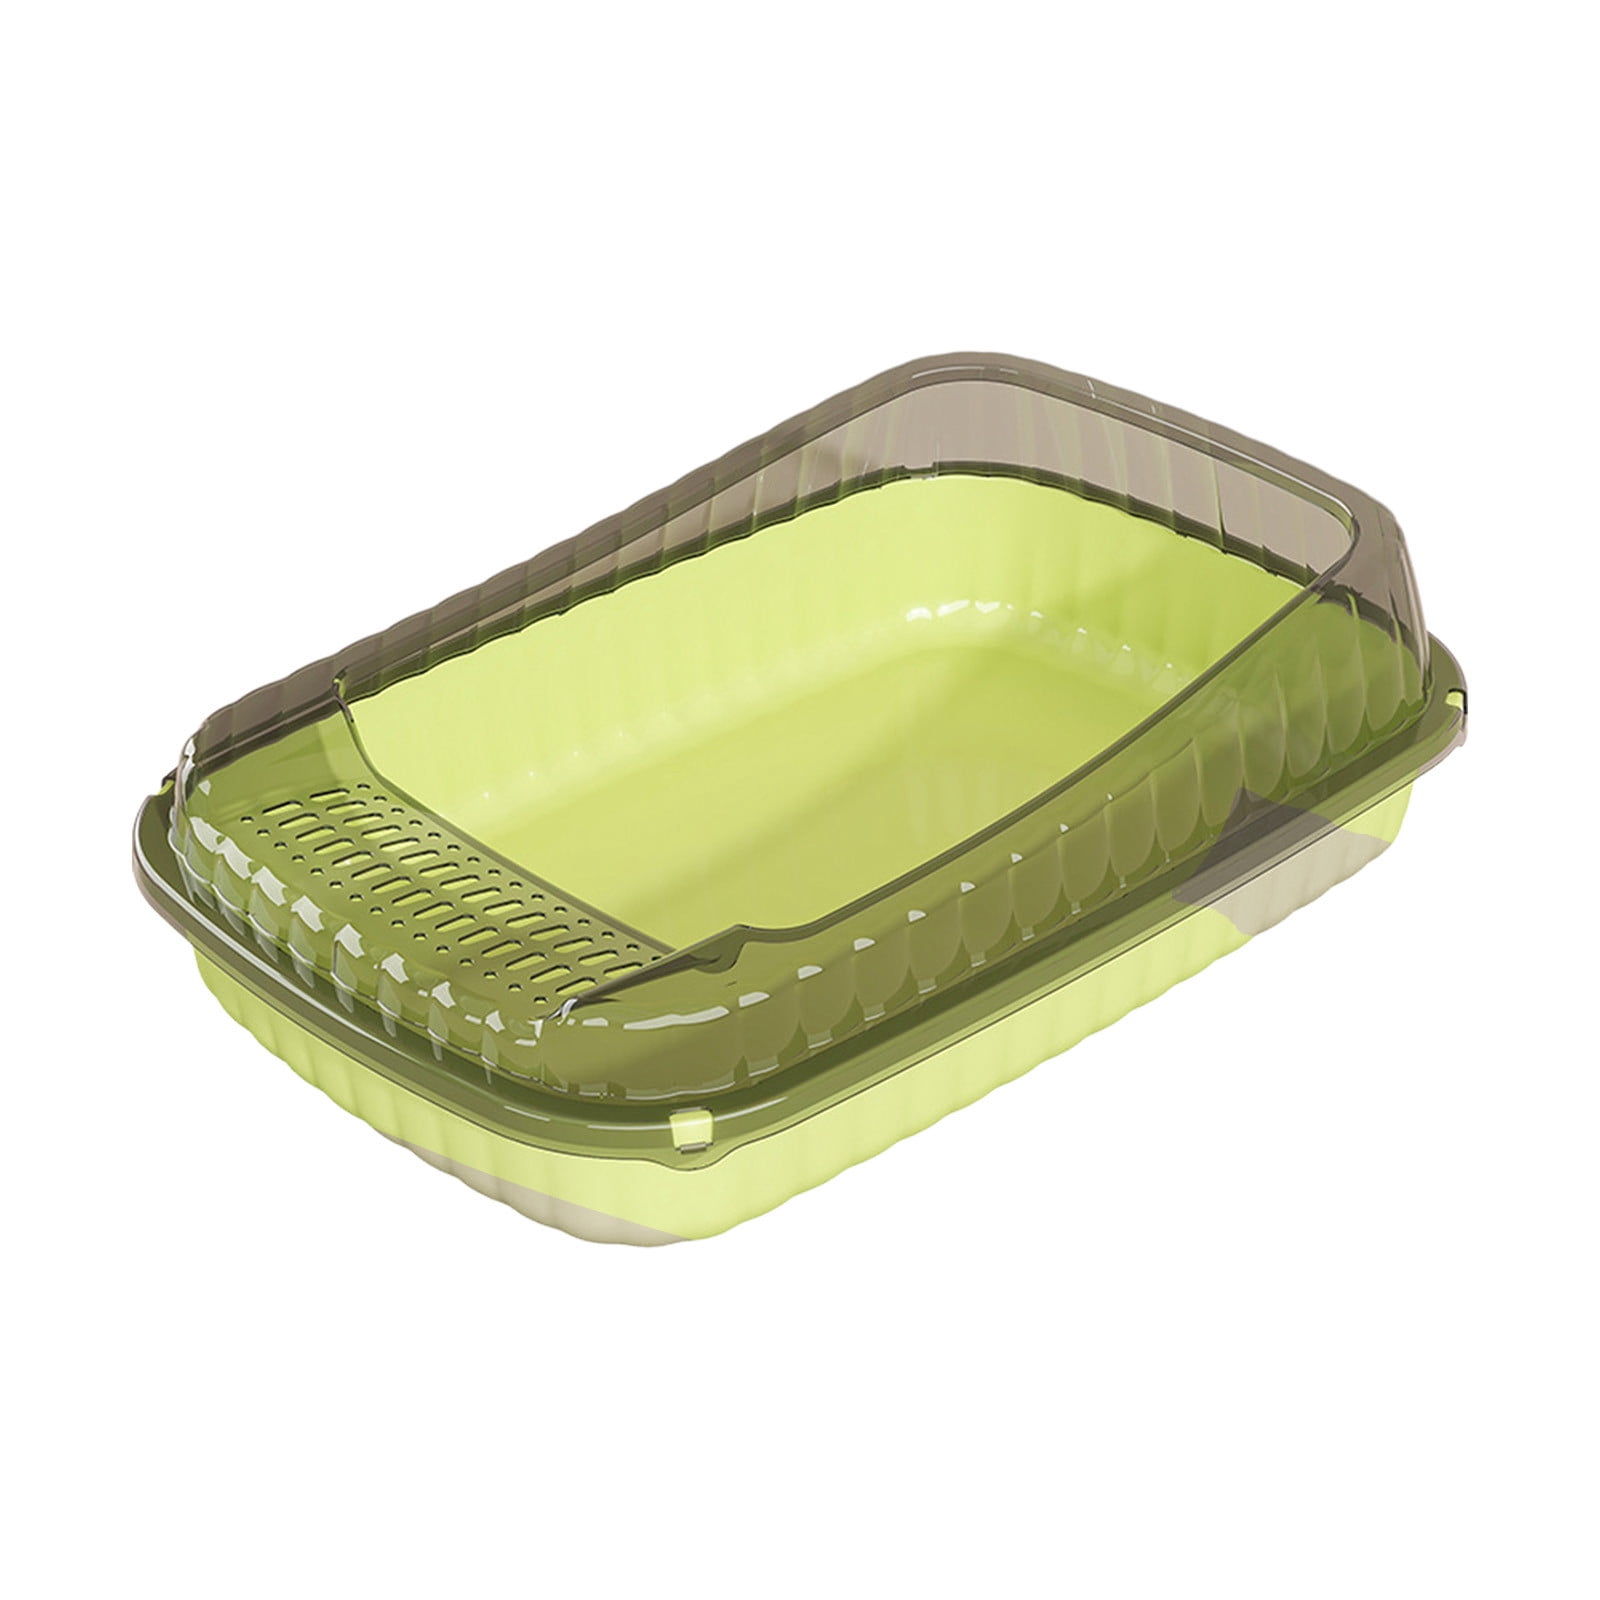
Daily care reduces the amount of scrubbing needed each week.
- Scoop clumps and feces at least once daily.
- Remove waste before it sticks to the bottom.
- Keep the litter at the depth recommended by the litter maker.
- Use a litter mat to catch particles near the entrance.
- Keep enough boxes for the household. A common veterinary guideline is one box per cat plus one extra.
- Wash the scoop regularly.
- Check the box for scratches each time you wash it.
- Keep food and water away from the litter area.
- Use the same litter unless a gradual change is needed.
For multiple cats, more frequent full cleaning may be necessary. Odor is a useful warning, but a box can hold urine residue before it smells strongly.

Frequently Asked Questions
Can I wash a plastic litter box in the bathtub?
Yes, but rinse and disinfect the tub after cleaning the litter box. Remove all litter first, use a separate sponge or brush, and keep the cat away until the area is clean.
Can I use baking soda in a litter box?
A small amount of baking soda is commonly used to reduce odor, but it does not replace washing or disinfecting. Mix it with the litter only if your cat accepts it. Some cats dislike changes in litter texture or smell.
Is vinegar safe for cleaning a cat litter box?
Diluted vinegar can help loosen mineral deposits, but it is not a complete disinfectant. Use it as a separate step, never with bleach, and rinse the box well before it dries.
How do I clean a litter box after my cat has diarrhea?
Wear gloves, remove the waste, wash the box with soap and warm water, and use a suitable disinfectant according to its label. Rinse and dry the box fully. Wash your hands after removing gloves. If diarrhea continues, contains blood, or affects a kitten, senior cat, or weak cat, call a veterinarian.
Why does my cat avoid a clean litter box?
Your cat may dislike the cleaner’s scent, the litter type, the box location, a covered design, or the box’s size. Avoid scented products, return to a familiar litter, and offer a clean uncovered box in a quiet place. Sudden avoidance can also signal pain or illness, so seek veterinary advice if the behavior continues.
Final Takeaway
The safest way to clean a plastic litter box is simple: empty it, rinse it, wash it with unscented dish soap, scrub gently, rinse away all residue, and dry it completely. Use a labeled disinfectant only when extra sanitation is needed, and never mix cleaning chemicals.
Start by cleaning your cat’s box today. If odor remains after a thorough wash, check for scratches or cracks and replace the box when the plastic can no longer be cleaned well.